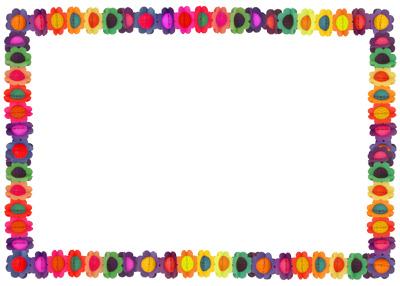
Borders for Photos using Google Docs
Put a border around your photos using Google Docs. NOTE: Animated GIF borders will be stationary.
1. Open a new document in Google docs.
2. Select insert, then drawing. Stay in the drawing window until you're done with the project.

3. To upload your photo, select insert, then image and upload the image. You can resize it by dragging the corners. Hold Shift while resizing to maintain proportions.
4. To insert your border, copy and paste it into the drawing window. If you've downloaded the border, select insert and image to upload it.
5..Resize the border to fit the photo, or your photo to fit the image, and drag one on top of the other. If you inserted your photo first, the border should be in front of the image. To change the layering order, right click either image and select Order to move either image into the front or the back.
7. If the image is in front of the text, right click the border and select Order then Send Backwards or Send to Back.
8. When you're done click Save and Close to insert the finished product into your document.
9. If you want to edit it, double click the image to re-open the drawing window.
NOTE: This border is a low resolution image and will appear blurry when enlarged. If you'd like to purchase higher resolution borders for printing please see our new collection of $1 borders. Borders
Want to use Docs to place a border around a text?
Put a border around text in Google Docs
Want to use Slides to place a border around an image or text?
Put a border around a photo or text in Google Slides


 Free Clip Art
